Step 1:
We work with the Touch-Up Dye Pen. The area to be repaired must be clean and free of grease.
We work with the Touch-Up Dye Pen. The area to be repaired must be clean and free of grease.
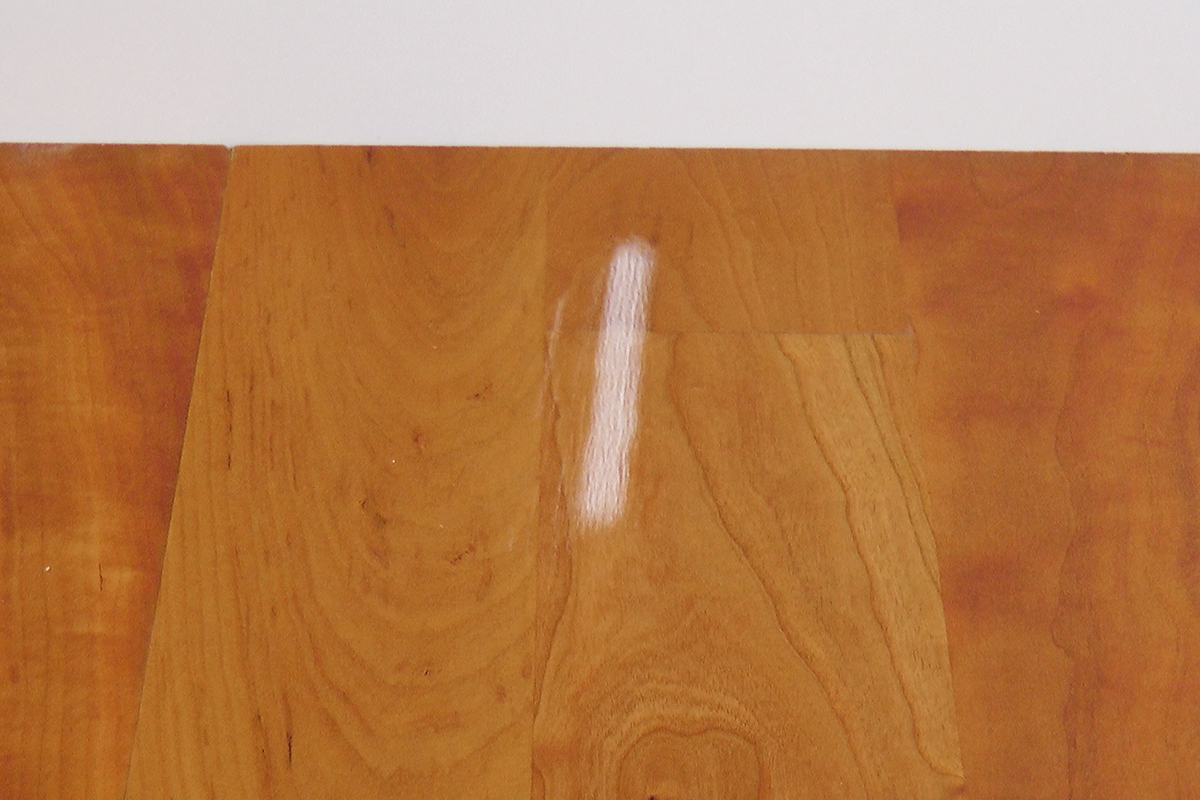
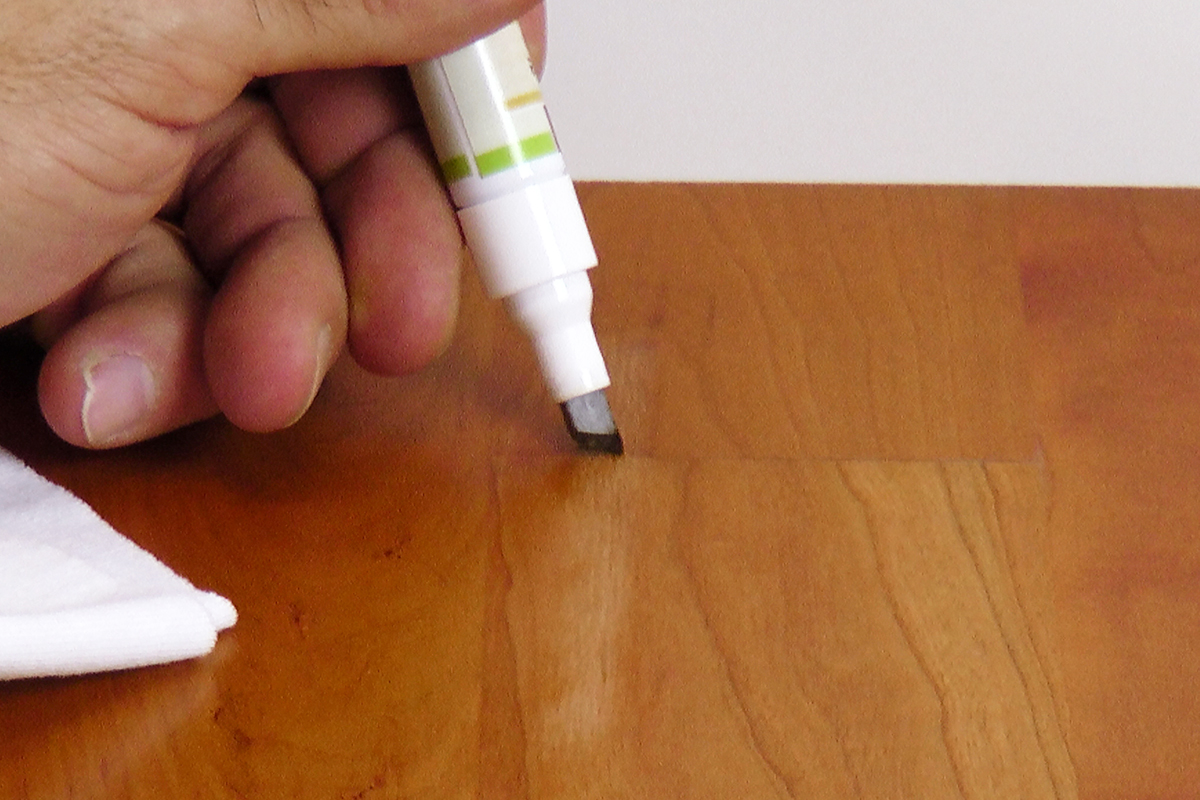
Step 2:
Apply dye from the Touch-Up Dye Pen to a clean cotton cloth...
Apply dye from the Touch-Up Dye Pen to a clean cotton cloth...
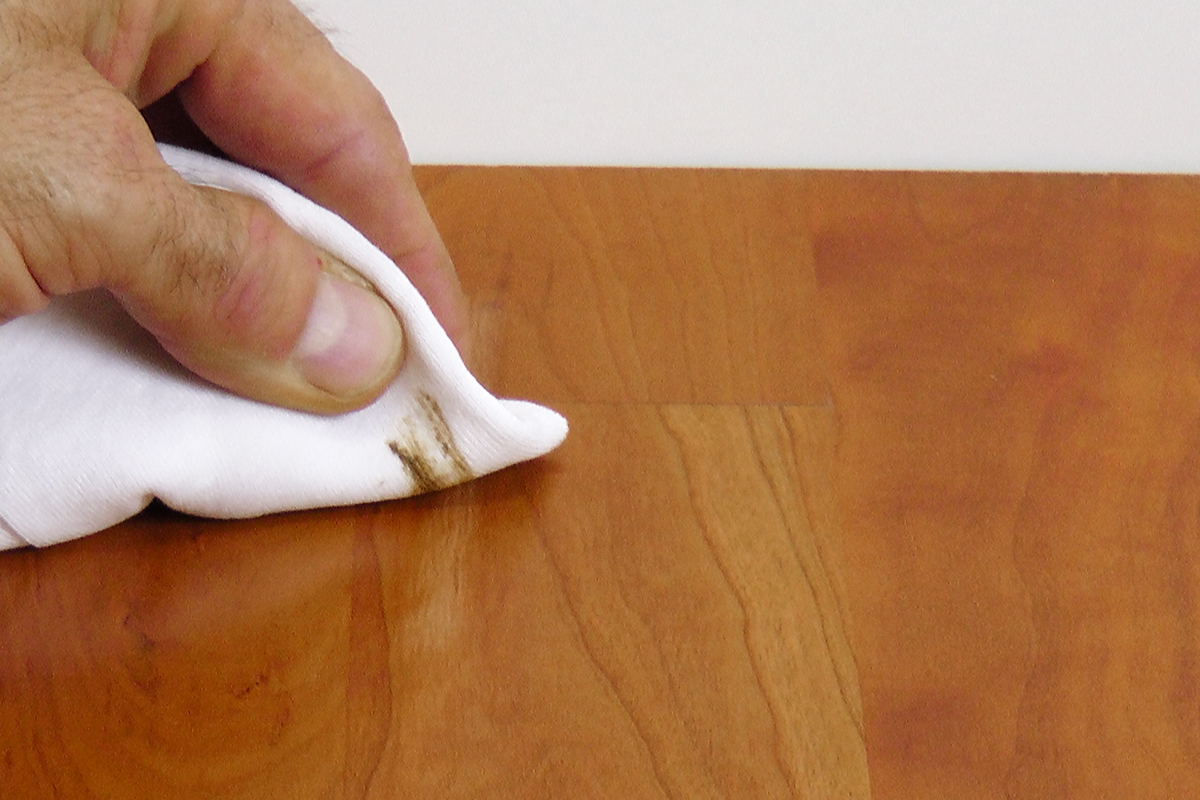
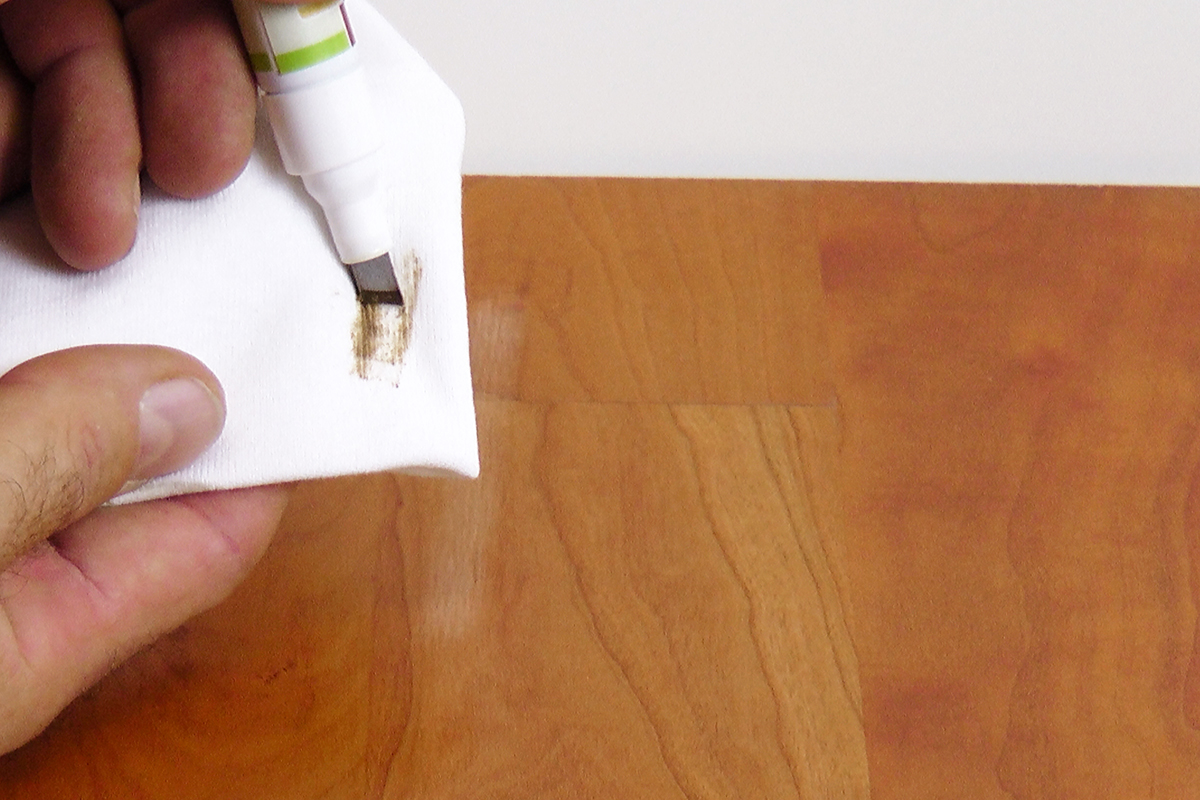
Step 3:
...and gently wipe the cloth over the scratch to apply colour.
...and gently wipe the cloth over the scratch to apply colour.
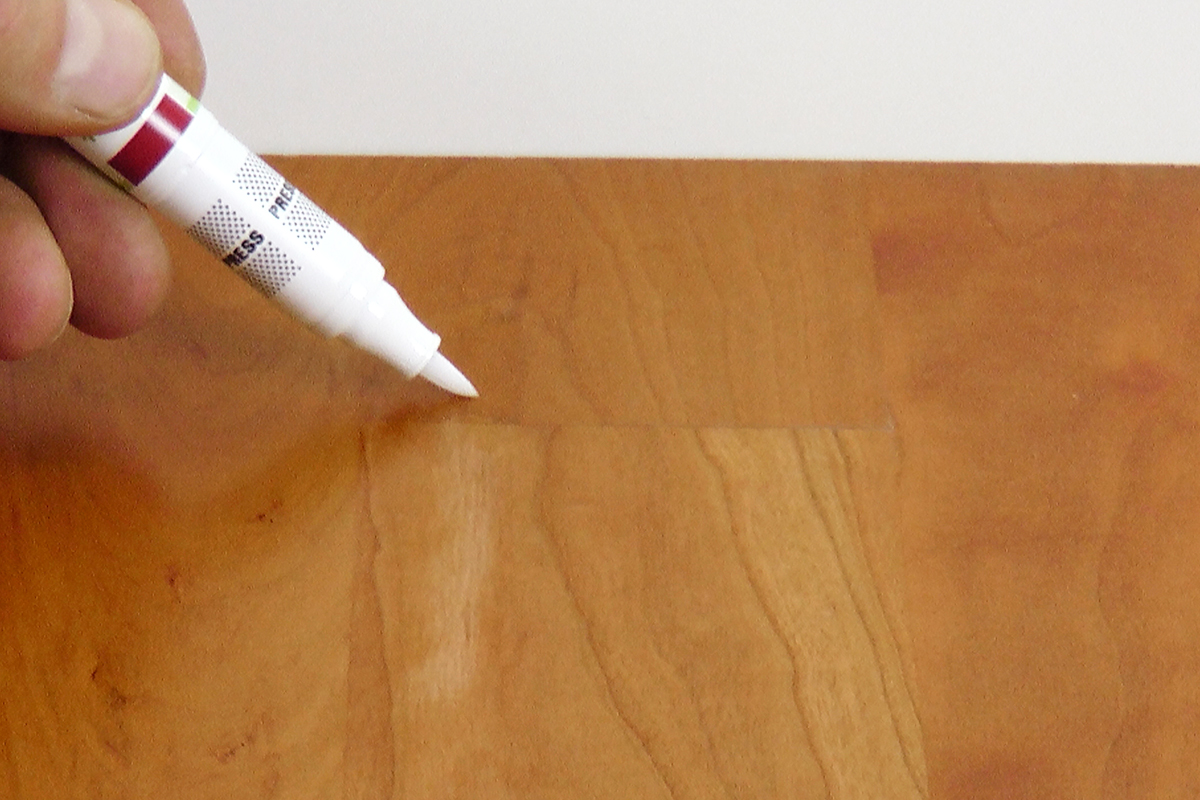
Step 4:
If needed, use the Touch-Up Dye Pen to trace and refine the wood grain for a natural finish.
If needed, use the Touch-Up Dye Pen to trace and refine the wood grain for a natural finish.
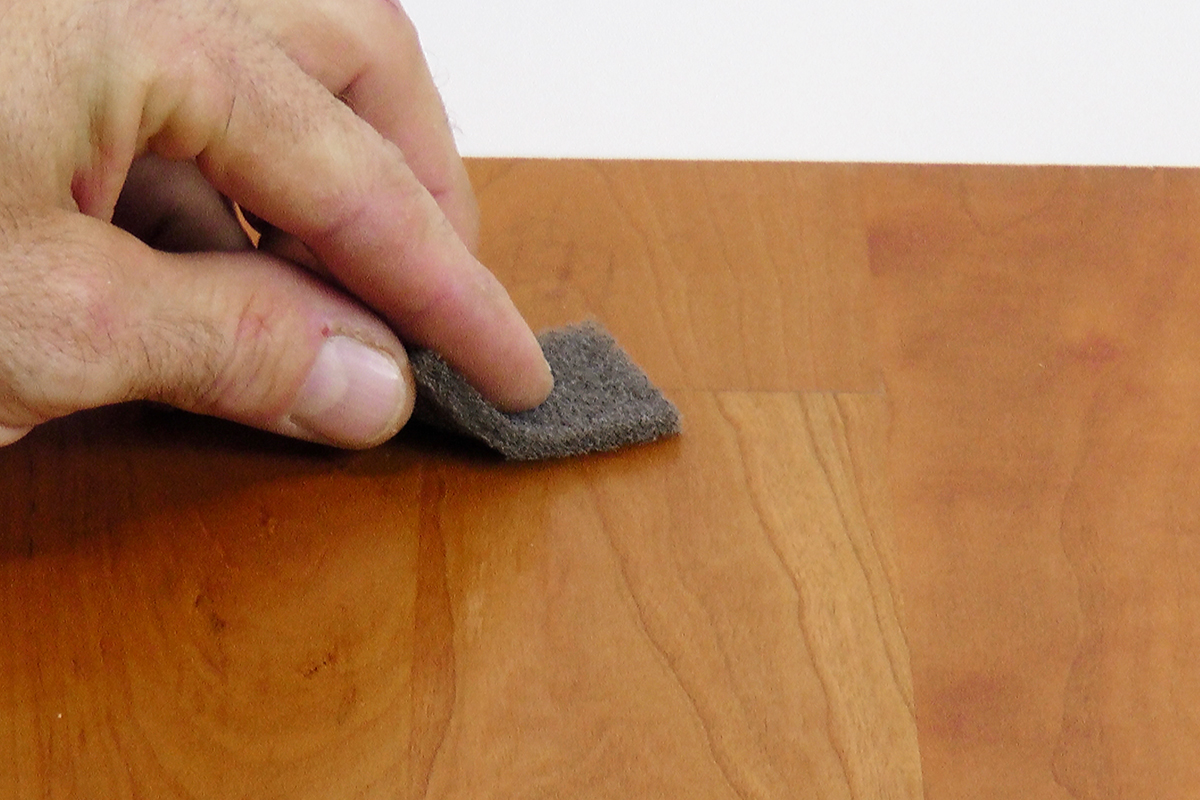
Step 5:
To smooth out excess colour, lightly rub the area with the grey Sanding Pad (coarse) from the Special Fillers Applicator (sold separately).
To smooth out excess colour, lightly rub the area with the grey Sanding Pad (coarse) from the Special Fillers Applicator (sold separately).
Step 6:
TIP: For added protection against dust and dirt, seal the area with the AQUA Brush Pen Clear Lacquer (sold separately).
TIP: For added protection against dust and dirt, seal the area with the AQUA Brush Pen Clear Lacquer (sold separately).
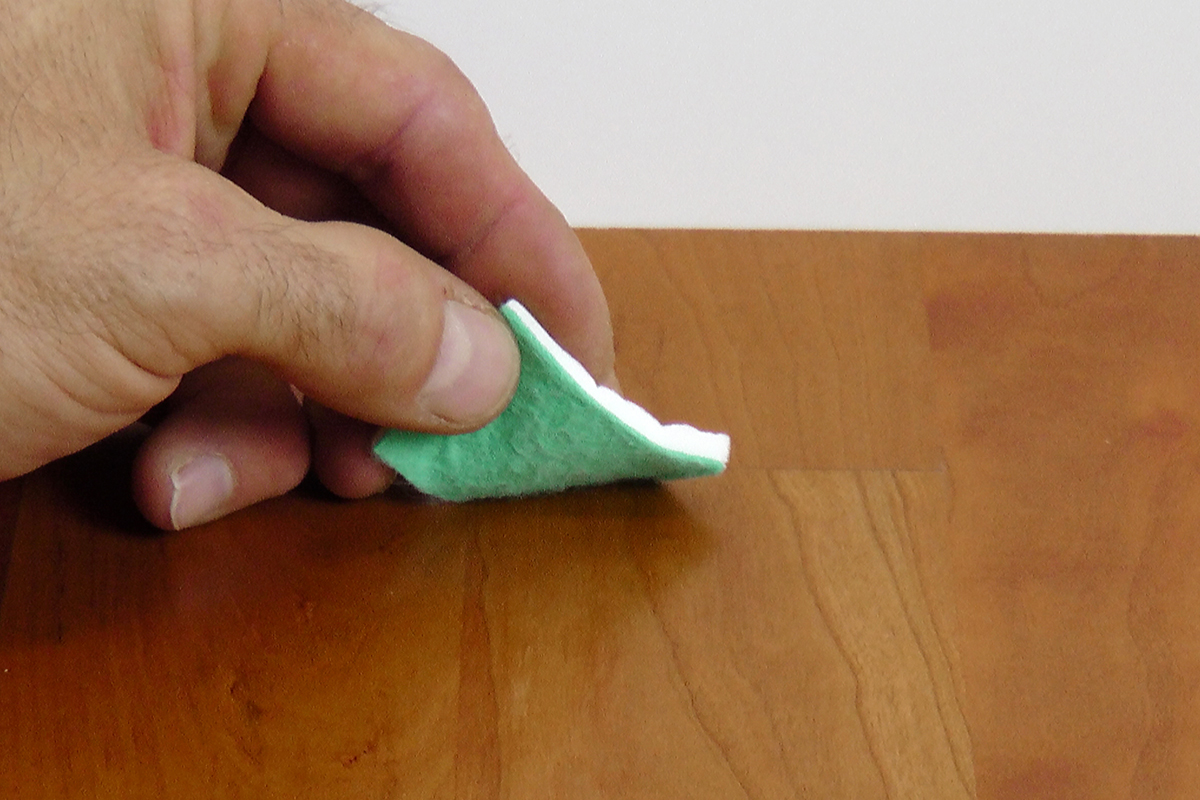
Step 7:
When the area is dry (after approx. 10-15 minutes at room temperature), adjust the gloss level using the Sanding and Polishing Cloth (available separately). Use the green side to add shine, and the white side to create a matte finish.
When the area is dry (after approx. 10-15 minutes at room temperature), adjust the gloss level using the Sanding and Polishing Cloth (available separately). Use the green side to add shine, and the white side to create a matte finish.