Step 1:
Using the Premium Repair Set for Wall and Floor Tiles, start by selecting the colours that best match your tiles. For the green shades shown here, combine yellow, blue, and white filler.
Using the Premium Repair Set for Wall and Floor Tiles, start by selecting the colours that best match your tiles. For the green shades shown here, combine yellow, blue, and white filler.
Step 2:
If a dowel is protruding, remove it. Partially fill the hole with a material like kitchen paper, then add white filler on top. Smooth the area with the Special Fillers Applicator.
If a dowel is protruding, remove it. Partially fill the hole with a material like kitchen paper, then add white filler on top. Smooth the area with the Special Fillers Applicator.

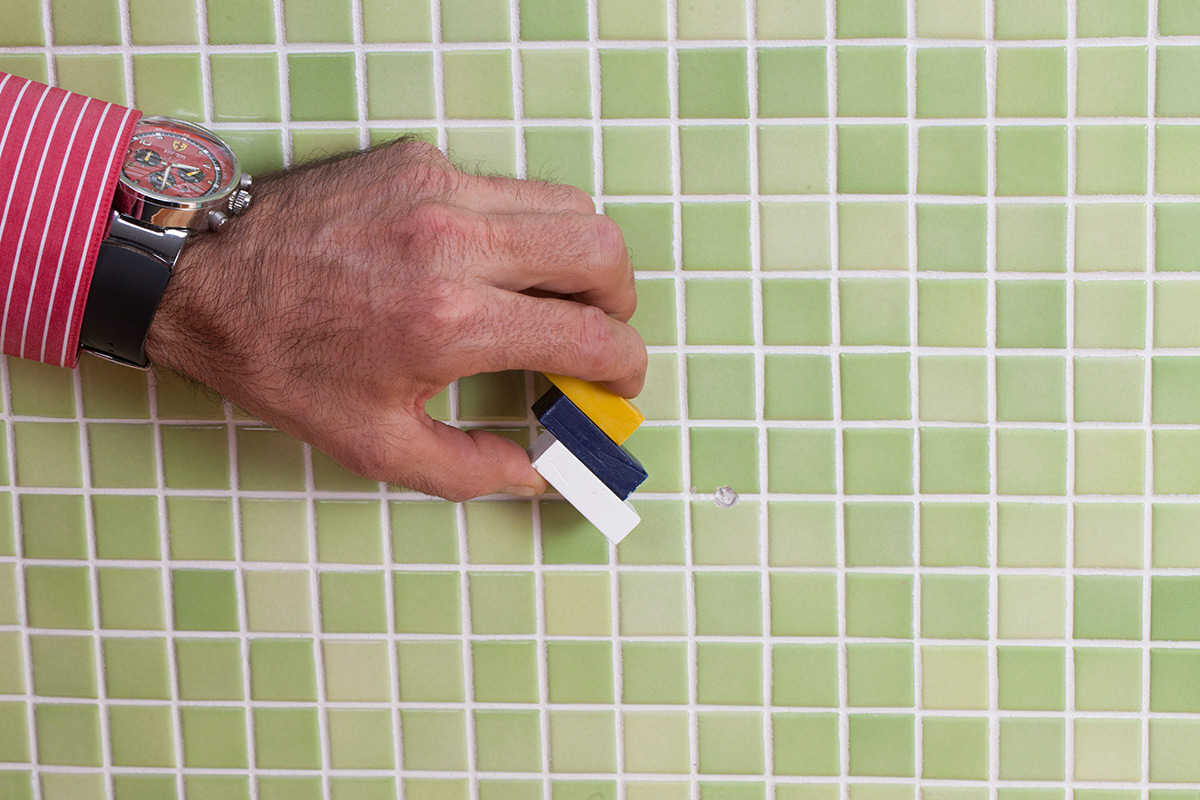
Step 3:
Mix filler colours (e.g., on coated chipboard) until you achieve the desired match. Use the Battery Melter to apply the filler to the damaged tile. Note: The blue melter shown here is now available in transparent.
Mix filler colours (e.g., on coated chipboard) until you achieve the desired match. Use the Battery Melter to apply the filler to the damaged tile. Note: The blue melter shown here is now available in transparent.

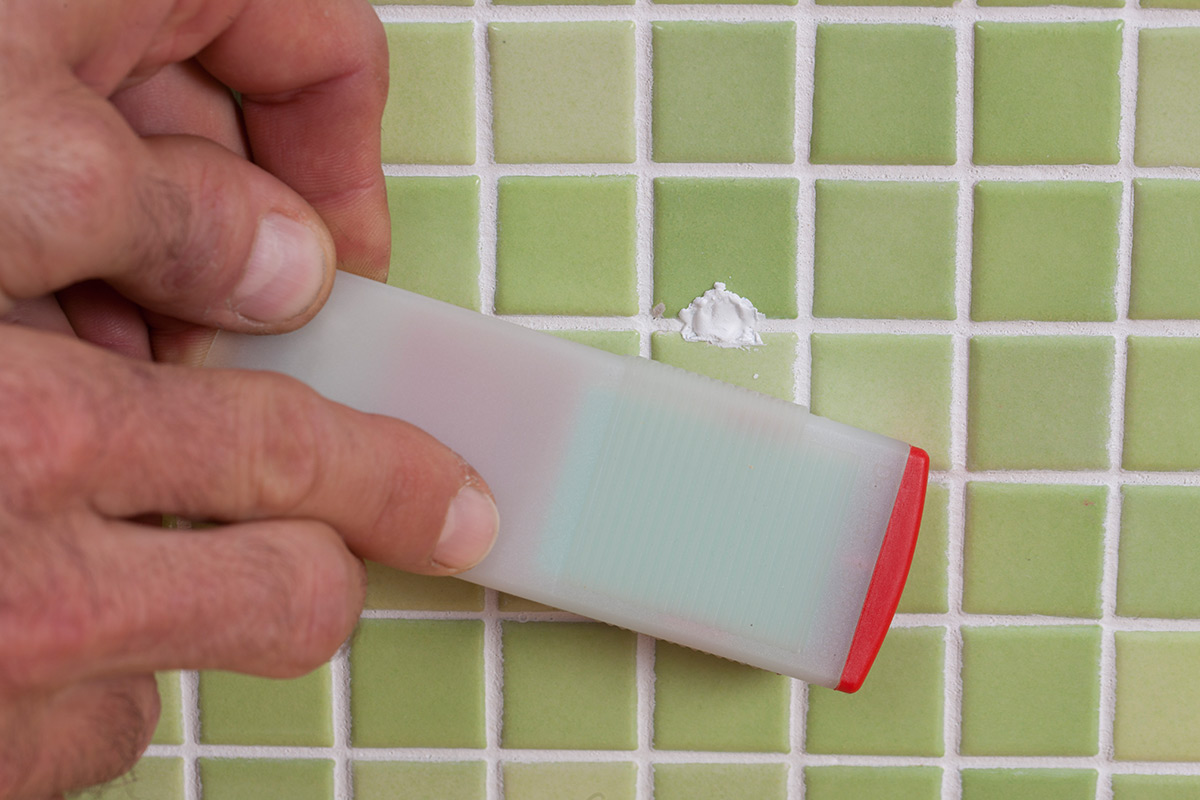
Step 4:
Once filled, use the Special Fillers Applicator to smooth the repaired area.
Once filled, use the Special Fillers Applicator to smooth the repaired area.
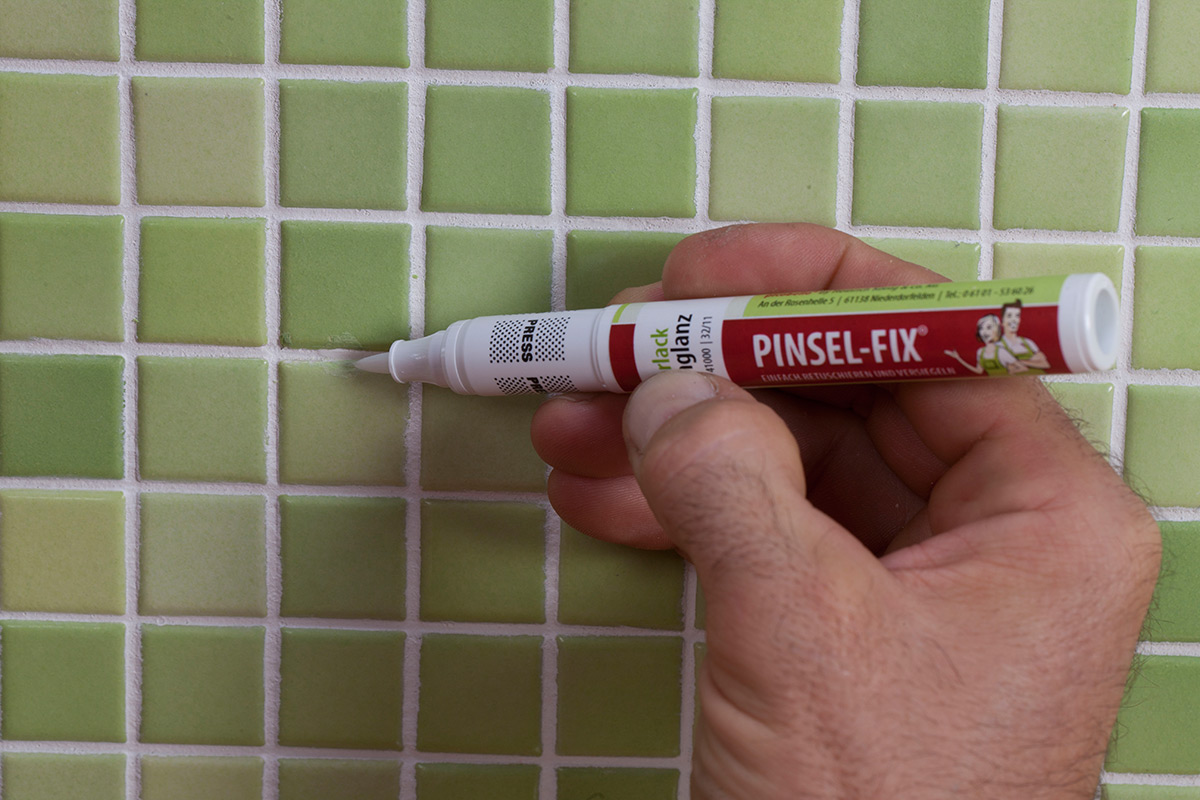
Step 5:
To finish, seal the area with Aqua Brush Pen Clear Lacquer and adjust the gloss level to blend. Done.
Special thanks to the "Selbst ist der Mann" editorial team for the photo reportage and the pictures provided.
To finish, seal the area with Aqua Brush Pen Clear Lacquer and adjust the gloss level to blend. Done.
Special thanks to the "Selbst ist der Mann" editorial team for the photo reportage and the pictures provided.